Managing catalogs
Catalogs, strictly speaking visTABLE® user catalogs, are displayed in the catalog tree (left column of the User Interface) as a list beneath the visTABLE® user libraries). The standard user library is My Library; when the visTABLE® software package is delivered, it is empty. Further user libraries can be added to the Object Manager for management by way of Add library.
The names and paths (where applicable) of the user libraries are displayed in the upper part of the catalog tree. They are highlighted by way of an appropriate symbol. To switch between the individual libraries, simply left-click or tap.
The currently selected library is highlighted by way of a colored stripe on the left margin in front of the symbol; the catalog currently selected therein is also highlighted in color in the catalog list. The current catalog is selected simply by left-clicking or tapping in the catalog list; an overview of the models contained therein is displayed in the Catalog Preview in the form of a thumbnail. To select a model (which is indicated by a tick in the top right corner of the thumbnail), tap on the thumbnail.
In the screenshot below, the user library My Library is selected and therein the catalog Modules Transmission unit Worm gear.
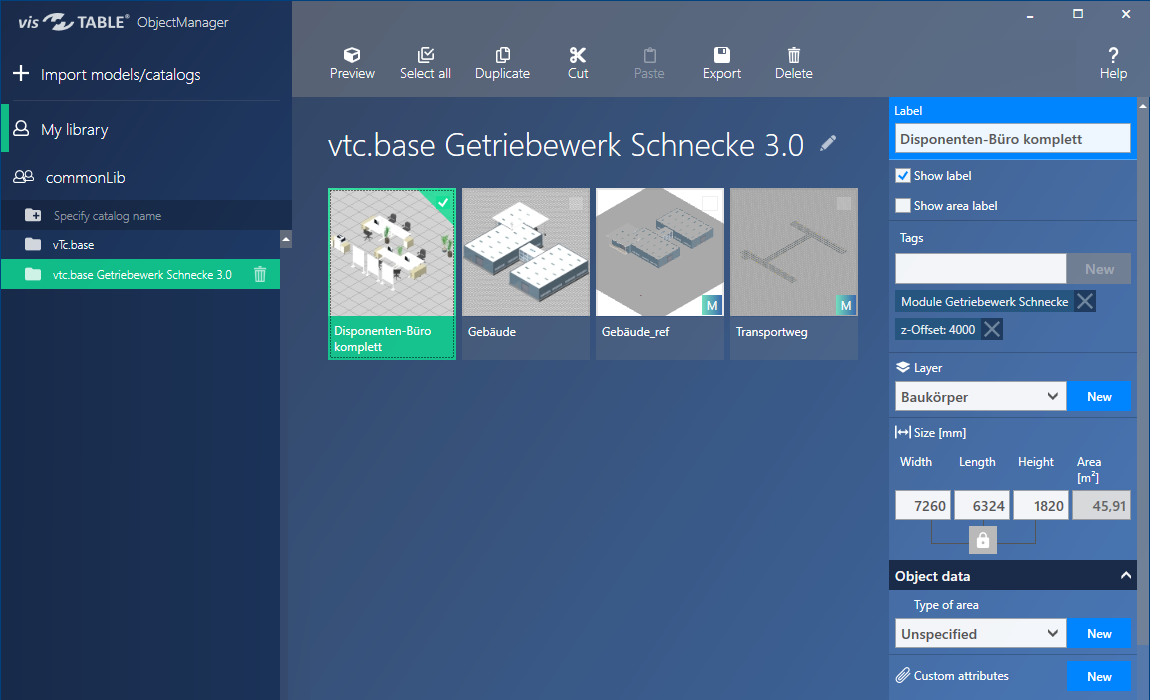
The following tasks are possible to manage catalogs:
- Create catalog
- Rename catalog
- Delete catalog
Creating a catalog
Step 1: Selecting the target library
Left-click or tap on the name/path of the library to select the library in which you wish to create a new catalog. As a result of this action, the selected library is highlighted in coloron the left margin in front of the symbol.
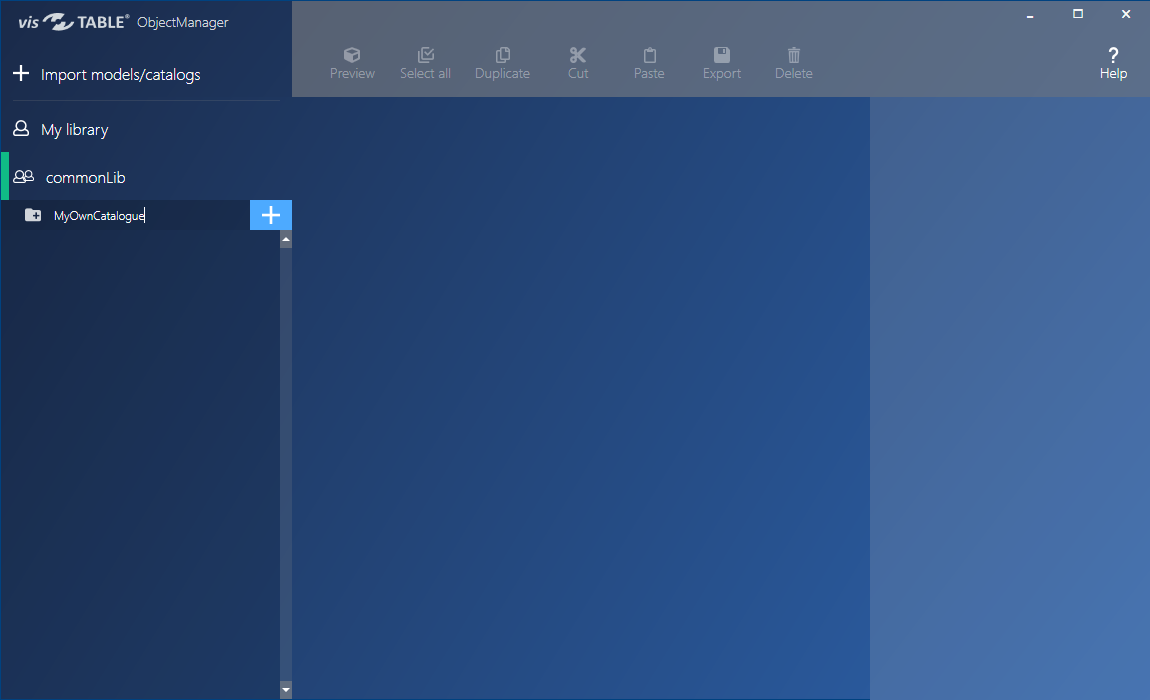
Step 2: Specifying the catalog name
Left-click or tap to position the cursor in the Create new catalog input field. Now you can immediately enter the name for the new catalog. You can change the name as long as you do not click or tap on the + symbol on the right margin of the input field. Once you have completed this action, the catalog name is displayed in the middle column, followed by a pen symbol to change the catalog name.
Renaming a catalog
To rename a catalog, use the Catalog Preview. After you have selected the catalog in the Catalog Tree, the catalog name is displayed as a header above the thumbnails of the models, followed by a pen symbol.
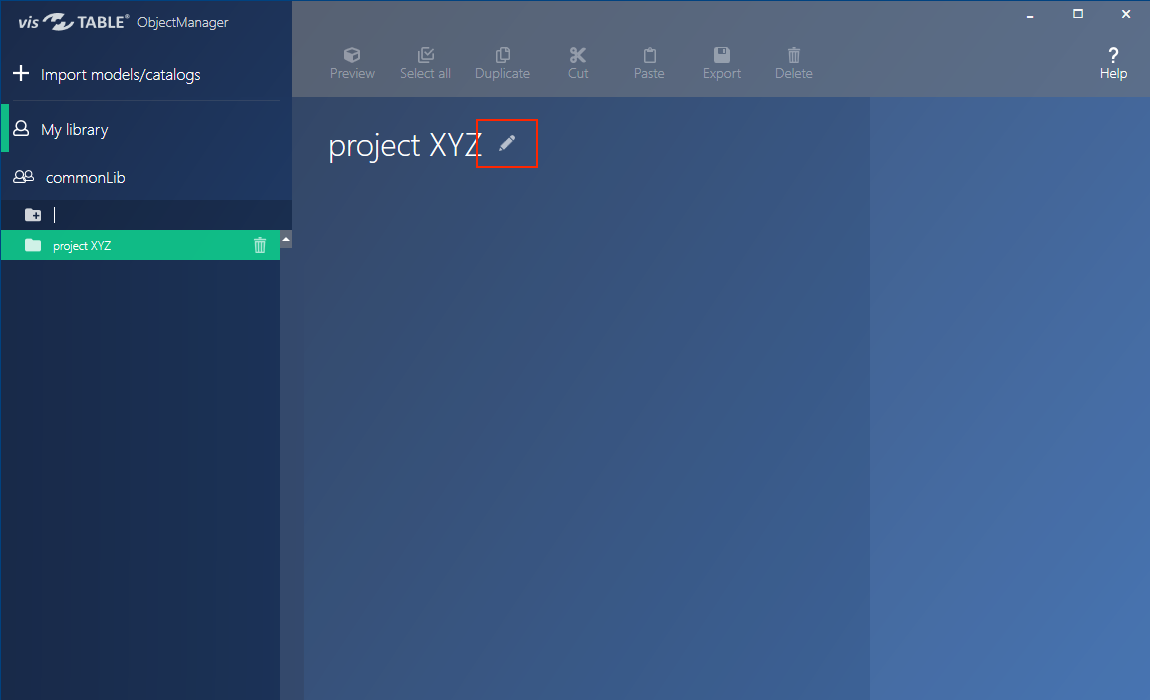
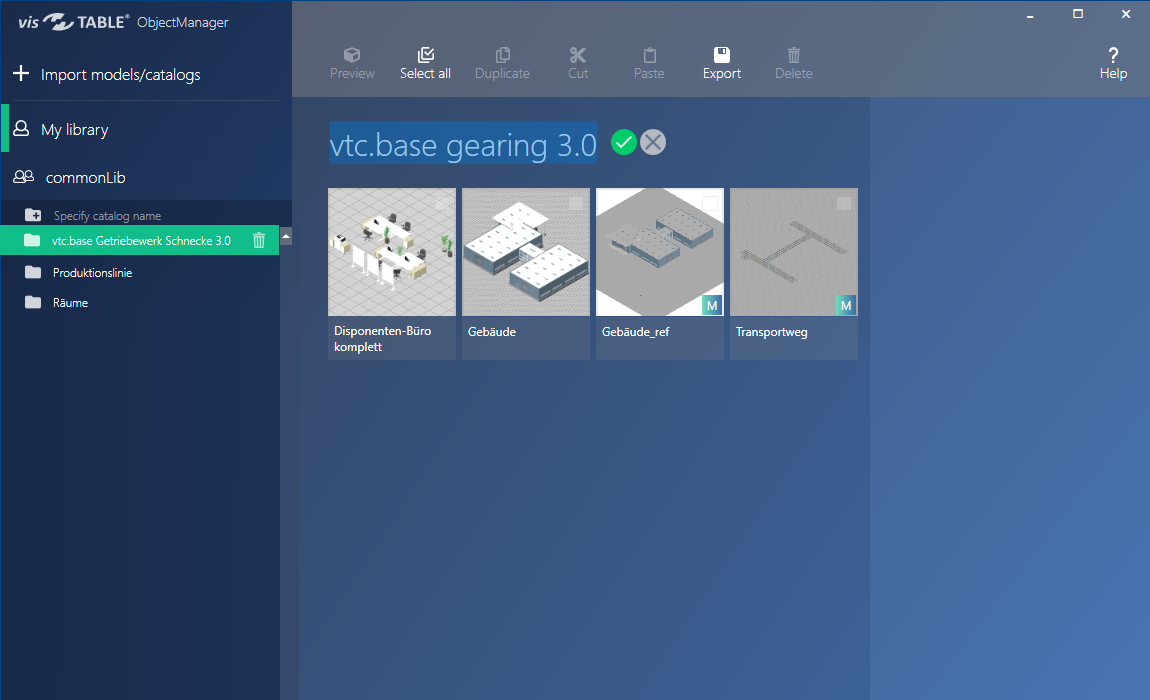
Tap or left-click on the pen symbol to highlight the catalog name. Two symbols (tick and cross) are displayed to the right of the name.
- When you type characters, the highlighted catalog name is overwritten.
- To change the name, position the cursor on the highlighted name.
- To discard your changes (cancellation), left-click or tap on the cross symbol
- To accept the new name (Saving), left-click or tap on the tick symbol or press the ENTER key to confirm.
Deleting a catalog
To delete a catalog from the Catalog Tree, left-click or tap on the recycle bin icon of the selected catalog. A confirmation warning displayed prior to the deletion prevents you from inadvertent deletion.
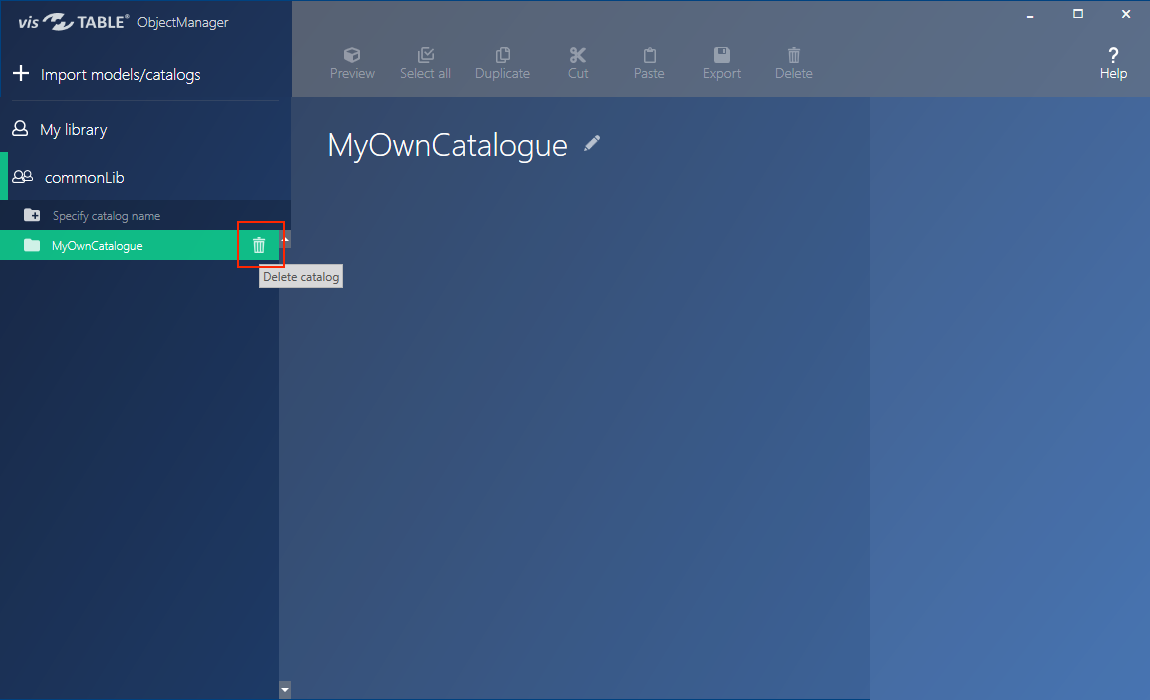
Deleting a catalog
Deletion is irreversible! Deleted catalogs cannot be restored. If a catalog was deleted, all models contained in this catalog are also no longer accessible. When you are not sure whether or not a catalog is still required, it is recommended to export a backup copy of the catalog first.